Understanding the primary light sequences
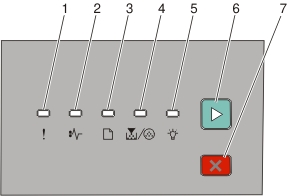
Printer control panel | Lights and buttons |
|---|---|
 |
|
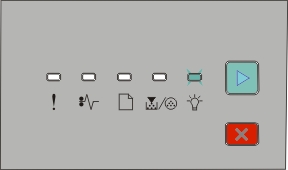
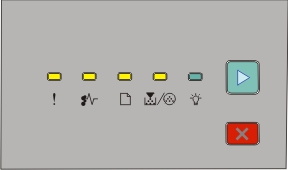
The printer control panel features six lights and two buttons. The lights can be on, off, blinking, or blinking slowly.
Light sequence | What to do |
|---|---|
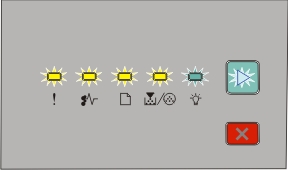 Service Error
| Turn the printer off, and then on. If the lights are still blinking, then visit the Lexmark support Web site at http://support.lexmark.com. |
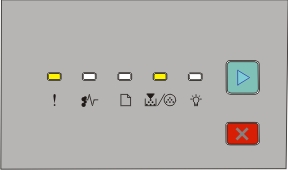
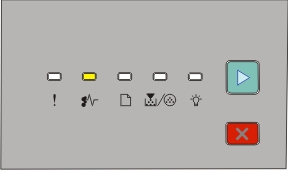
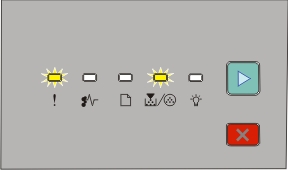 Replace PC Kit
| Replace the photoconductor kit. |
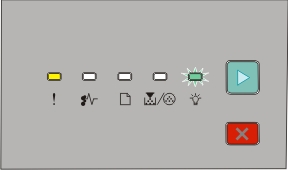
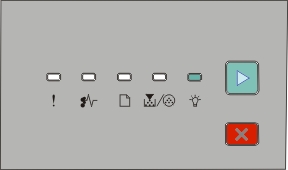
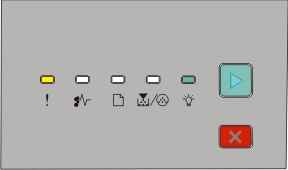
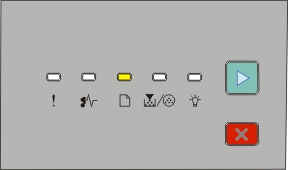
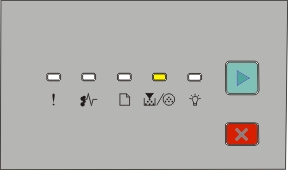
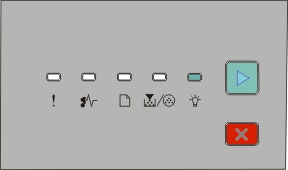 Ready
| Send a print job. |
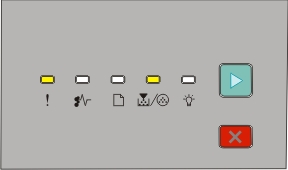
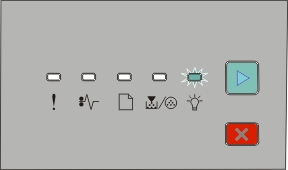
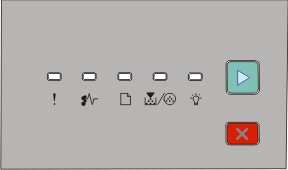
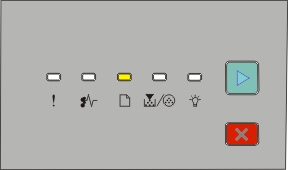
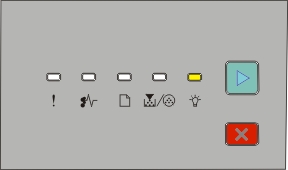 Power Saver
| Send a print job. |
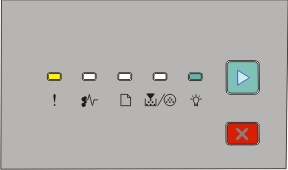
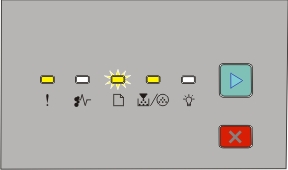
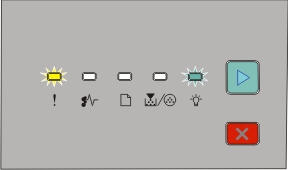
 Hex Trace Ready
| Use Hex Trace to troubleshoot printing problems. Turn the printer off, and then on to return to the state. |
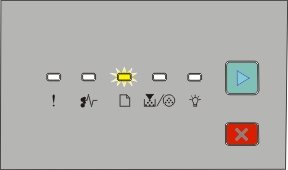
 Busy
| Wait or press |
 Flushing Buffer
| Wait until the printer returns to the state. |
 Waiting
| Wait for the light sequence to clear. |
 Canceling job
| Wait for the light sequence to clear. |
 Invalid Engine Code or Invalid Network Code
| Press Use valid code when programming the printer. |
 Not ready
| Press and release either |
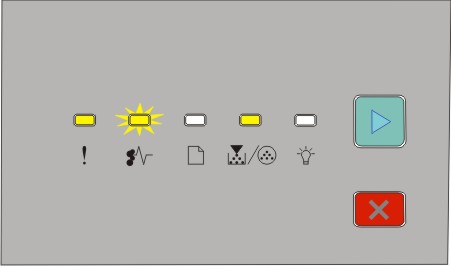
 Cartridge error
| Replace the toner cartridge with one suitable for your region. Note: This LED pattern also indicates other problems with the cartridge. Press |
 Front door is open
| Close the front door. |
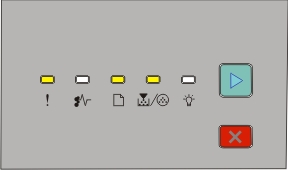
 No paper in Tray 1 or Tray 2
| Load paper in Tray 1 or Tray 2, and then press |
 No paper in the manual feeder
| Load paper in the manual feeder. |
 Remove paper from the standard exit bin
| Remove printed pages from the standard exit bin, and then press and release |
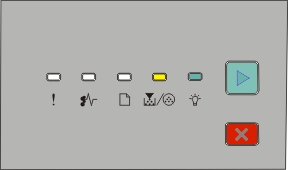 Cartridge is low
|
|
 PC Kit life warning
|
|
 - Blinking
 - Blinking
 - Blinking
 - Blinking
 - Blinking
 - Blinking
 .
.The following light sequences show that there is a secondary error code or secondary jam code to read:
Light sequence | What to do |
|---|---|
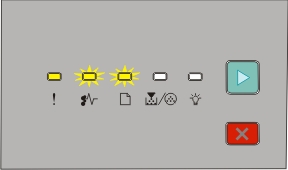
 Printer error
| Press |
 Paper jam
| Press |